
How to Choose a Smart Projector for Your Room: Size, Lighting and Placement
Find the right smart projector for your room. Compare screen size, lighting, throw distance and placement with this practical home projector buying guide.
The XElectron Journal
Ideas, Insights & Stories Behind Better Experiences

- ✓Find the right smart projector for your room. Compare screen size, lighting, throw distance and placement with this practical home projector buying guide.
A big-screen movie experience starts with understanding your room. The available wall space, daylight and projector position all affect how comfortable and enjoyable your setup will be.
When choosing a smart projector for your room, look beyond the maximum screen size advertised. A projector needs to produce the image you want from a position that works with your furniture, seating and lighting.
This home projector buying guide explains how to assess your space, compare useful features and plan a practical setup before buying.
1. Measure Your Room Before Comparing Projectors
Start with three measurements:
Usable wall width: The clear space available for the projected image or screen.
Lens-to-screen distance: The distance between the proposed projector lens position and the projection surface.
Seating distance: The distance from your usual viewing position to the screen.
Room length and projection distance are not necessarily the same. A shelf, sofa or cabinet may limit where the projector can sit. You also need space for its body, cables and ventilation.
For a projector for a small room, the most important question is whether it can create your preferred image size within the available projection distance. A compact projector is not automatically a short-throw projector.
2. Understand Throw Ratio and Projection Distance
Throw ratio describes the relationship between projection distance and image width:
Projection distance = Throw ratio × Image width
Manufacturers use this relationship to help determine projector placement. Image width is measured horizontally, while advertised screen sizes usually refer to the diagonal.
For example, a projector with a 1.2:1 throw ratio would need approximately 2.4 metres between its lens and the screen to create an image 2 metres wide.
The following illustrative calculations assume a 16:9 image and a fixed 1.2:1 throw ratio:
Screen diagonal
Approximate image width
Approximate projection distance
80 inches
1.77 metres
2.13 metres
100 inches
2.21 metres
2.66 metres
120 inches
2.66 metres
3.19 metres
These are planning examples, not specifications for a particular XElectron model. Confirm the exact model’s projection chart before purchasing or installing a mount.
For ultra-short-throw projectors, use the manufacturer’s installation dimensions carefully. Cabinet depth, screen height and the distance from the projector body to the wall also matter.
3. Choose a Screen Size That Suits Your Seating
The largest possible image is not always the most comfortable choice.
An oversized image can make subtitles, menus and fast-moving scenes harder to follow from a close seat. It may also extend beyond the most suitable part of your wall.
A simple way to plan is to mark the proposed image boundaries with removable tape. Sit where you normally watch and check whether the full area feels comfortable to view.
Allow space around switches, furniture and doorways. If you are buying a projection screen, include its frame or housing in your measurements.
Choose a screen size that works with your room first, then shortlist projectors capable of producing it from the available distance.
4. Assess the Lighting at Your Usual Viewing Time
Check your room when you actually expect to use the projector. A bedroom used after sunset has different requirements from a living room used during the afternoon.
Notice whether sunlight reaches the projection wall, whether curtains block it effectively and whether ceiling lights shine onto the screen.
Practical improvements include:
Closing curtains or blinds during viewing.
Switching off lights directed at the screen.
Using softer lighting away from the projection surface.
Choosing a wall with less direct daylight.
When comparing brightness, look for a clearly stated measurement standard, such as ANSI lumens or ISO lumens. Avoid treating an unspecified “lumens” figure as directly equivalent to a standardised measurement.
Also consider image size: spreading the available light across a larger area reduces image brightness per unit area. Brightness specifications therefore need to be considered alongside lighting and screen dimensions.
5. Check Native Resolution, Not Just “4K Support”
Projector listings may mention both native resolution and supported input resolution. These describe different things.
Native resolution identifies the projector’s underlying display resolution. Supported resolution describes the input signals it can accept and process.
For example, XElectron lists the iProjector 1 Plus with native 1080p resolution and 4K HDR support. Those specifications should not be read as a claim of native 4K resolution.
When comparing models, read the detailed specifications rather than relying only on the product title. Consider the content you watch, your screen size and how close you sit.
6. Plan Projector Placement Before Mounting
A good room projector setup should make daily use simple.
Position the projector according to its installation guide, using the recommended height and alignment. Keep the surface stable and leave the required clearance around ventilation openings.
Also check:
Whether people will walk through the projection beam.
Whether power and HDMI cables can reach safely.
Whether the remote and connection ports remain accessible.
Whether fan noise will be noticeable near your seat.
Whether the chosen position supports the required screen size.
Test the image before drilling holes or fixing a permanent mount.
Use Keystone Correction for Adjustment
Keystone correction helps straighten a trapezoid-shaped image when the projector is angled towards the screen.
However, digital keystone correction resizes the image within the available pixel area and can affect image quality. Physical alignment should therefore be the starting point, with correction used as needed.
Auto focus and automatic keystone features can make setup more convenient, but they do not replace checking placement and projection distance.
7. Choose Smart Features Around Your Viewing Habits
A smart projector should make it easy to access the content you watch.
Before buying, check the exact operating system, available applications and compatibility with your preferred streaming services. Confirm service support for the specific model rather than assuming every Android-based projector offers the same experience.
Also consider:
Wi-Fi: Will the connection be reliable at the installation point?
HDMI: Can you connect a laptop, gaming console or streaming device?
Audio connections: Does the projector support your intended speaker or soundbar connection?
Screen mirroring: Is your phone compatible, and can the content you want to watch be mirrored?
XElectron lists models with different smart platforms and setup features, including an iProjector 3 Plus model advertised with official Google TV, auto focus and keystone correction. Compare the current specification sheet for your shortlisted model.
8. Decide Between a Wall and a Projection Screen
A smooth, neutral-coloured wall can provide a starting point for testing your setup. Texture, uneven paint and wall colour may affect the appearance of the image.
A dedicated screen offers a consistent projection surface, but it should suit the projector and installation. Check compatibility before choosing specialist screen materials, particularly for ultra-short-throw setups.
Include the screen, mounting hardware, cables and any external audio equipment in your total budget.
Your Home Projector Buying Checklist
Before ordering, confirm that you have:
Measured usable wall space and lens-to-screen distance.
Chosen a comfortable image size.
Checked the model’s throw ratio or projection chart.
Assessed daylight and room lighting.
Compared native resolution and clearly specified brightness.
Confirmed streaming, device and audio compatibility.
Planned ventilation, power and cable routing.
Reviewed warranty, support and return terms.
Find a Smart Projector That Fits Your Room
The right projector should fit both your space and your routine. A bedroom setup may prioritise convenient placement and easy streaming, while a living room may need closer attention to lighting and audio.
Start with your measurements, select a realistic screen size and compare models against those requirements.
Explore the XElectron projector range and check each model’s specifications to find a smart projector suited to your room.
Frequently Asked Questions
Can I use a smart projector in a small bedroom?
Yes, provided its projection distance and image-size requirements fit the room. Check the throw ratio or projection chart before buying. A smaller projector body does not necessarily mean it can project a large image from a short distance.
How far should a projector be from the wall?
The distance depends on the model and desired image width. Use the formula: projection distance equals throw ratio multiplied by image width, then confirm the result against the manufacturer’s installation guide.
Can I use a projector with the lights on?
Results depend on the projector’s brightness, image size, screen and the amount of light reaching the projection surface. Reducing light on the screen generally improves the viewing experience.
Is a projection screen necessary?
You can begin with a suitable smooth wall. A dedicated screen provides a more consistent surface, but its material and size should match the projector and room.
Does 4K support mean a projector is native 4K?
No. A projector may accept a 4K signal and display it at a lower native resolution. Check both specifications separately.
Ready to Upgrade Your Entertainment Experience?
Discover XElectron's range of smart projectors, LED TVs, portable monitors, and digital photo frames, designed to make everyday entertainment more immersive.
Keep Exploring
Recommended For You
 Product News
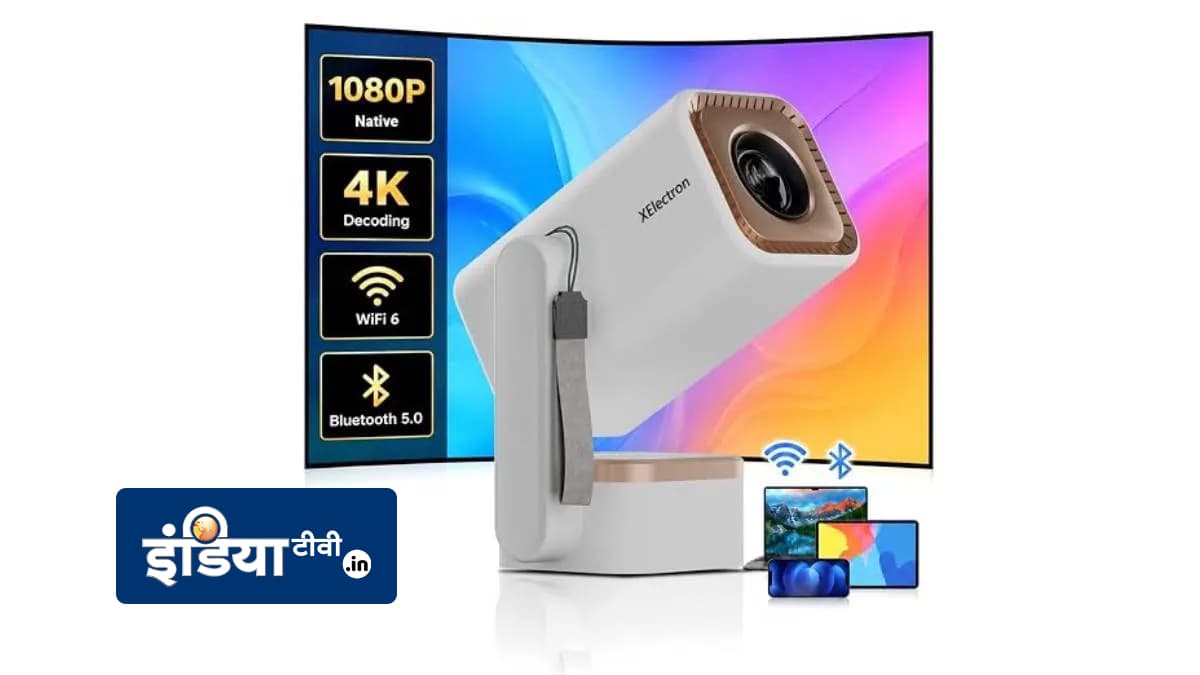
8,499 रुपये में लॉन्च हुआ Smart प्रोजेक्टर, घर की दीवार बन जाएगी 200 इंच की स्क्रीन
Xelectron ने Techno Plus स्मार्ट प्रोजेक्टर लॉन्च किया है। देसी ब्रांड का यह स्मार्ट प्रोजेक्टर Android 14 ऑपरेटिंग सिस्टम पर काम करता है और इसे 200 इंच की स्क्रीन में बदला जा सकता है।
 Media review
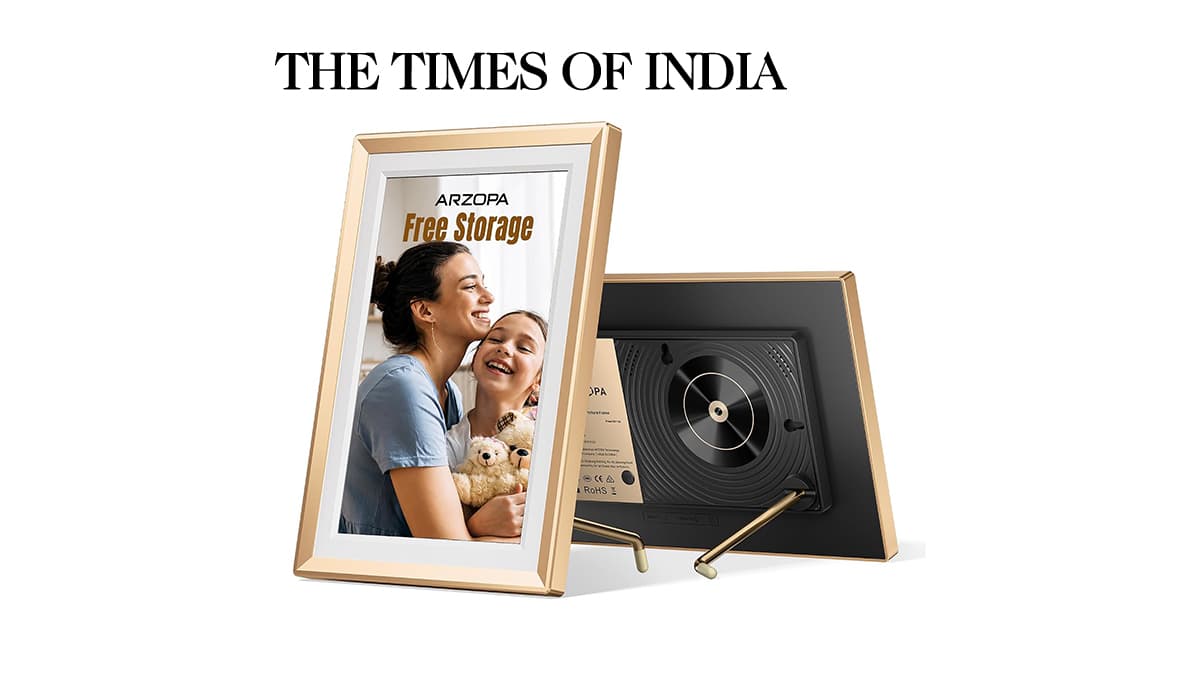
XElectron launches ARZOPA DIO WiFi Smart Digital Picture Frame at Rs 8,990
XElectron has launched the ARZOPA DIO WiFi Smart Digital Picture Frame in India. The device is designed to display photographs and videos on a 10.1-inch touchscreen and lets users update content remotely through the ARZOPA App. It supports WiFi connectivity, 32GB of built-in storage and unlimited cloud storage. Users can also share content with the frame from Android and iOS smartphones, even when they are away from home. The frame supports multiple users, allowing family members and friends to send photographs remotely. The ARZOPA DIO is priced at Rs 8,990 and is available through Amazon India and Flipkart.
 Technology
फोन की गैलरी फुल होने की टेंशन खत्म! घर बैठे दुनिया के किसी कोने से भेजें फोटो, भारत में लॉन्च हुआ कमाल का गैजेट; कीमत...
फोन की गैलरी बार-बार फुल होने के कारण अगर आपको भी फोटो डिलीट करना पड़ता है, तो अब आपकी परेशानी दूर हो सकती है! XElectron ने भारत में ARZOPA D10 वाई-फाई स्मार्ट डिजिटल फ्रेम लॉन्च कर दिया है. इस गैजेट की मदद से आप दुनिया के किसी भी कोने से सीधे फोटो और वीडियो भेज सकते हैं.